[TOC] You might even have not discovered the features of Windows 10, as it has a lot of features hidden in it. To record the PC screens, we generally have to install dedicated and third-party software to ensure the recording of our essential work. But, with Windows 10, it is possible to accomplish this task without using any other software.
As mentioned before, Windows 10 has many hidden features, and one such hidden part is to record PC screens without any software using the game bar. Let’s see how it can be done.
How to Record Windows PC Screens Without Any Software?
This tool is specially designed for gamers who want to record their gameplay and publish their content on social media or Youtube. But, people can also use this tool to record their PC screens for other tasks. This method is straightforward and does not require any technical knowledge. You can follow the below-given steps to make it easier.
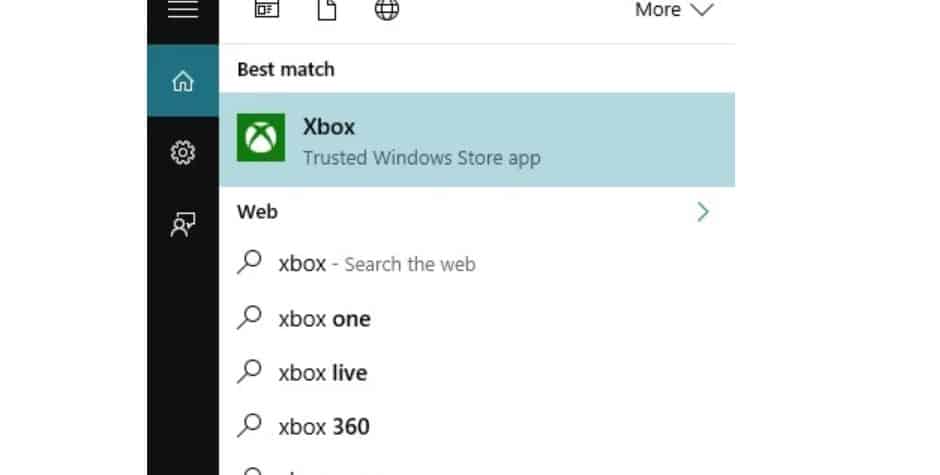
First, you need to click on the start button or press the Windows key. Search for the Xbox application, and then open it on your PC.
After that, press the keyboard combination of Windows Key + G. It is a simple shortcut to record PC screens. A popup will appear on your screen and ask you for the confirmation message stating: Is this a game?. Tap on the Yes button.
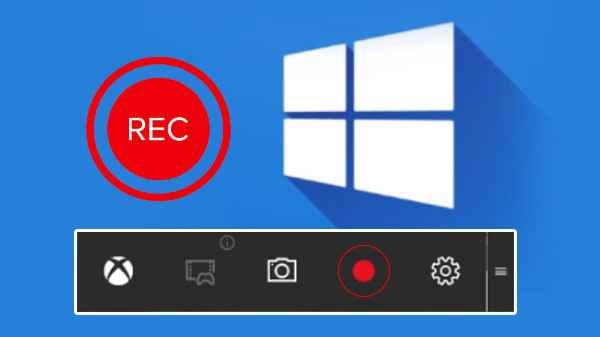
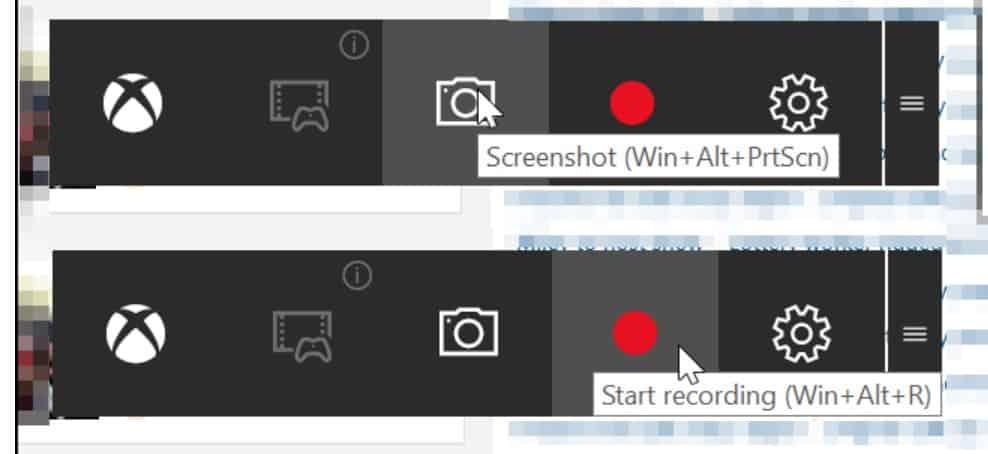
You will now see the Xbox game bar and its record options on your screen. Tap on the start recording button, and the recording will automatically get started.
You can stop the recording using the same button once you are done recording your PC screen. You will find all of your screen recordings at this location: C/Users/Videos/Captures.
That’s all. You do not even need any third-party application to record PC screens. You can do it with the help of an in-built application named Xbox. It is one of the easiest methods to record PC screens without any software. You can also take a screenshot using the Xbox game bar. It has a lot to offer. Let’s come to the next possible way.
VLC Media Player
We have already added the in-built application process to record PC screens without any software. But VLC Media Player is something that everyone uses for playing any video or file on the computer. So, it is possible to record PC screens using the VLC Media Player. We are adding this as an alternative to help people with multiple processes record their PC screens. Let’s come to the steps.
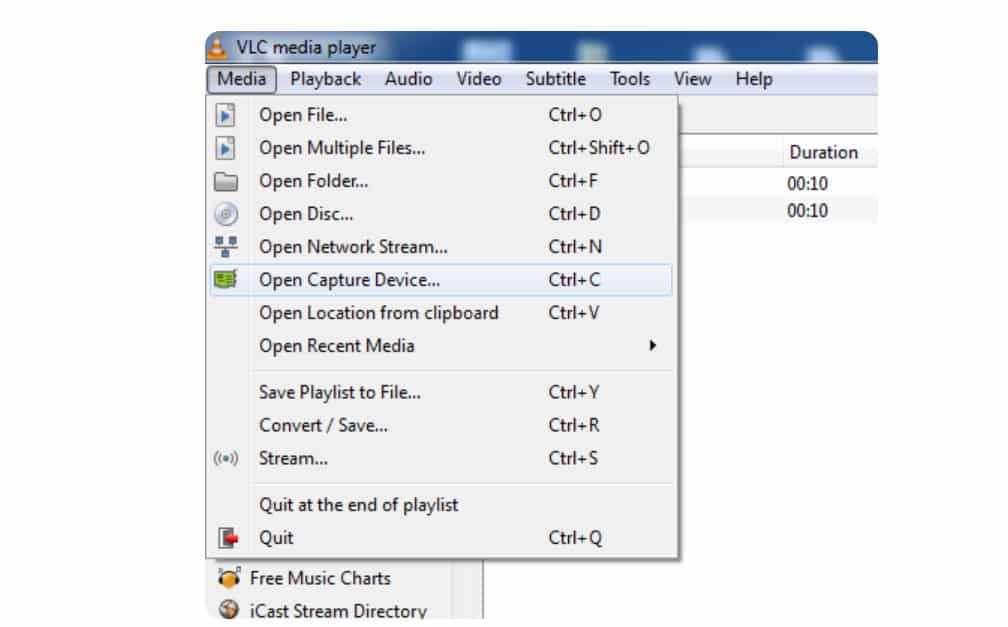
First, you need to download and install VLC Media Player on your computer. (You can ignore this step if you already have installed this software.) Just launch the software and click on the media button. You will find the option to capture this device. Just click on it.
Under the capture settings, select the desktop option from the drop-down menu. Set all the other options as per the requirement and click on the play button.
Your screen recording will now start. You can stop using the button mentioned over the screen. Just click on the recording file and tap on the Save button. You can now save your screen recording anywhere on the computer. That’s all.
It is another possible and straightforward method to record PC screens without any software. However, it requires the installation of a VLC Media Player. But, everyone uses this software at this time.
Microsoft PowerPoint
Wait a second. There is another method to record PC screens using the in-built applications of the computer. Microsoft Powerpoint allows you to record your screen and save the video files. You can create a PowerPoint file and start the screen recording for the complete desktop. To get it done? Let’s follow the steps.
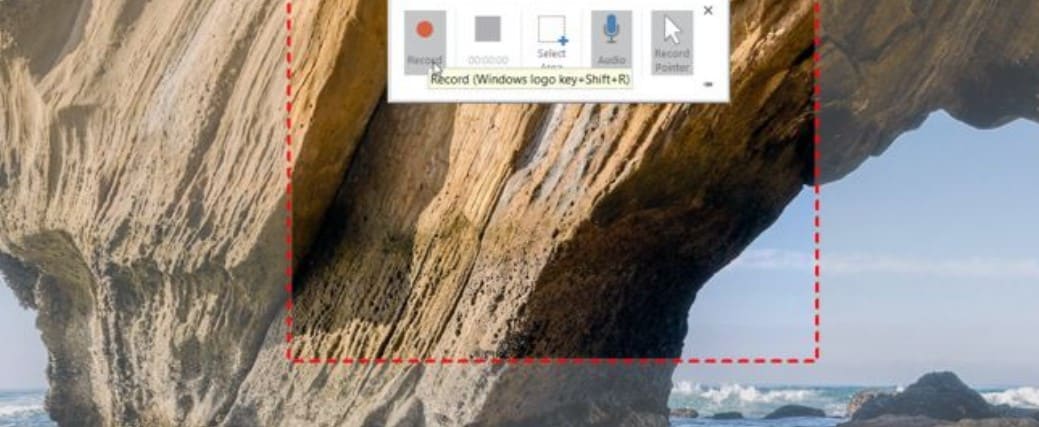
Open Microsoft PowerPoint on your Windows. Create a new PowerPoint presentation or open any existing PPT file. Just click on the insert tab. You will find the option of Screen Recording. Just tap on it. You must now select the screen area using the cross-bar tool to record only a particular space.
After selecting the screen, click on the record button. You can also use the keyboard shortcut by pressing the Windows + Shift + R key to start recording your screen. When you are done recording your data, go back to the PowerPoint file and click on the stop button. You can also use the keyboard shortcut by pressing the Windows + Shift + Q key to stop recording your screen. Again, click on the recorded file and click on the Save Media. Select the location and save the recorded file into the computer. That’s all.
Remember, this feature will only work for people using the latest version of Microsoft PowerPoint 2016 and above on their PCs. If you are using the older version, you have to update it to the latest version to get this feature. Again, it is one of the best methods to record PC screens without any software as everyone uses office products. PowerPoint is one of the essential applications that we use daily. Alternatively, you can try working out the above methods to record your screen. You may also like to read:
How to Save A Notepad File as PDF In Windows 11 How to Get Green Verification Badge on WhatsApp How to Open Command Prompt in Windows 11 (Quickly)
The bottom line
So, this is our article where we have added three methods to record PC screens without any software. Most people are still unaware of the hidden features of Windows PC. They mostly opt to install a third-party application for recording their screen. There is no need to worry anymore. You will find the best option to record your PC screen without using any third-party software in this article. Let me know in the comments if anything is not updated.
