No matter if you are a copywriter or not, using correct grammar improves your writing. Be it an email or a proposal draft. But, conversely, a small grammatical error can be destructive. Apart from the grammar, the content should be readable and easy to understand for everyone. That’s where Grammarly comes in handy for everyone! Do you use Microsoft Word for your writing needs, such as letters, proposals, etc.? Well, Grammarly for Word is the latest add-on that you must have. It will not only correct your grammatical errors but will assist you in writing flawlessly as well. Before we move on to that, you must be aware of Grammarly’s handy features and tools.
What is Grammarly?
Grammarly is the most famous tool used to improve grammar and other flaws in a copy. The copy here could be anything, including emails, blogs, presentations, letters, etc. A good copy requires good grammar and a selection of the best possible words. However, for an average human, it gets hectic to remember loads of words. To make your writing sound beautiful and understandable, Grammarly helps a lot. The flawless algorithm can read every letter of your document within a couple of minutes to offer suggestions. Sounds cool, doesn’t it? You may also like to check out this Grammarly free trial guide. Let’s jump onto the next section to learn about using Grammarly for Word.
How to use Grammarly for Word?
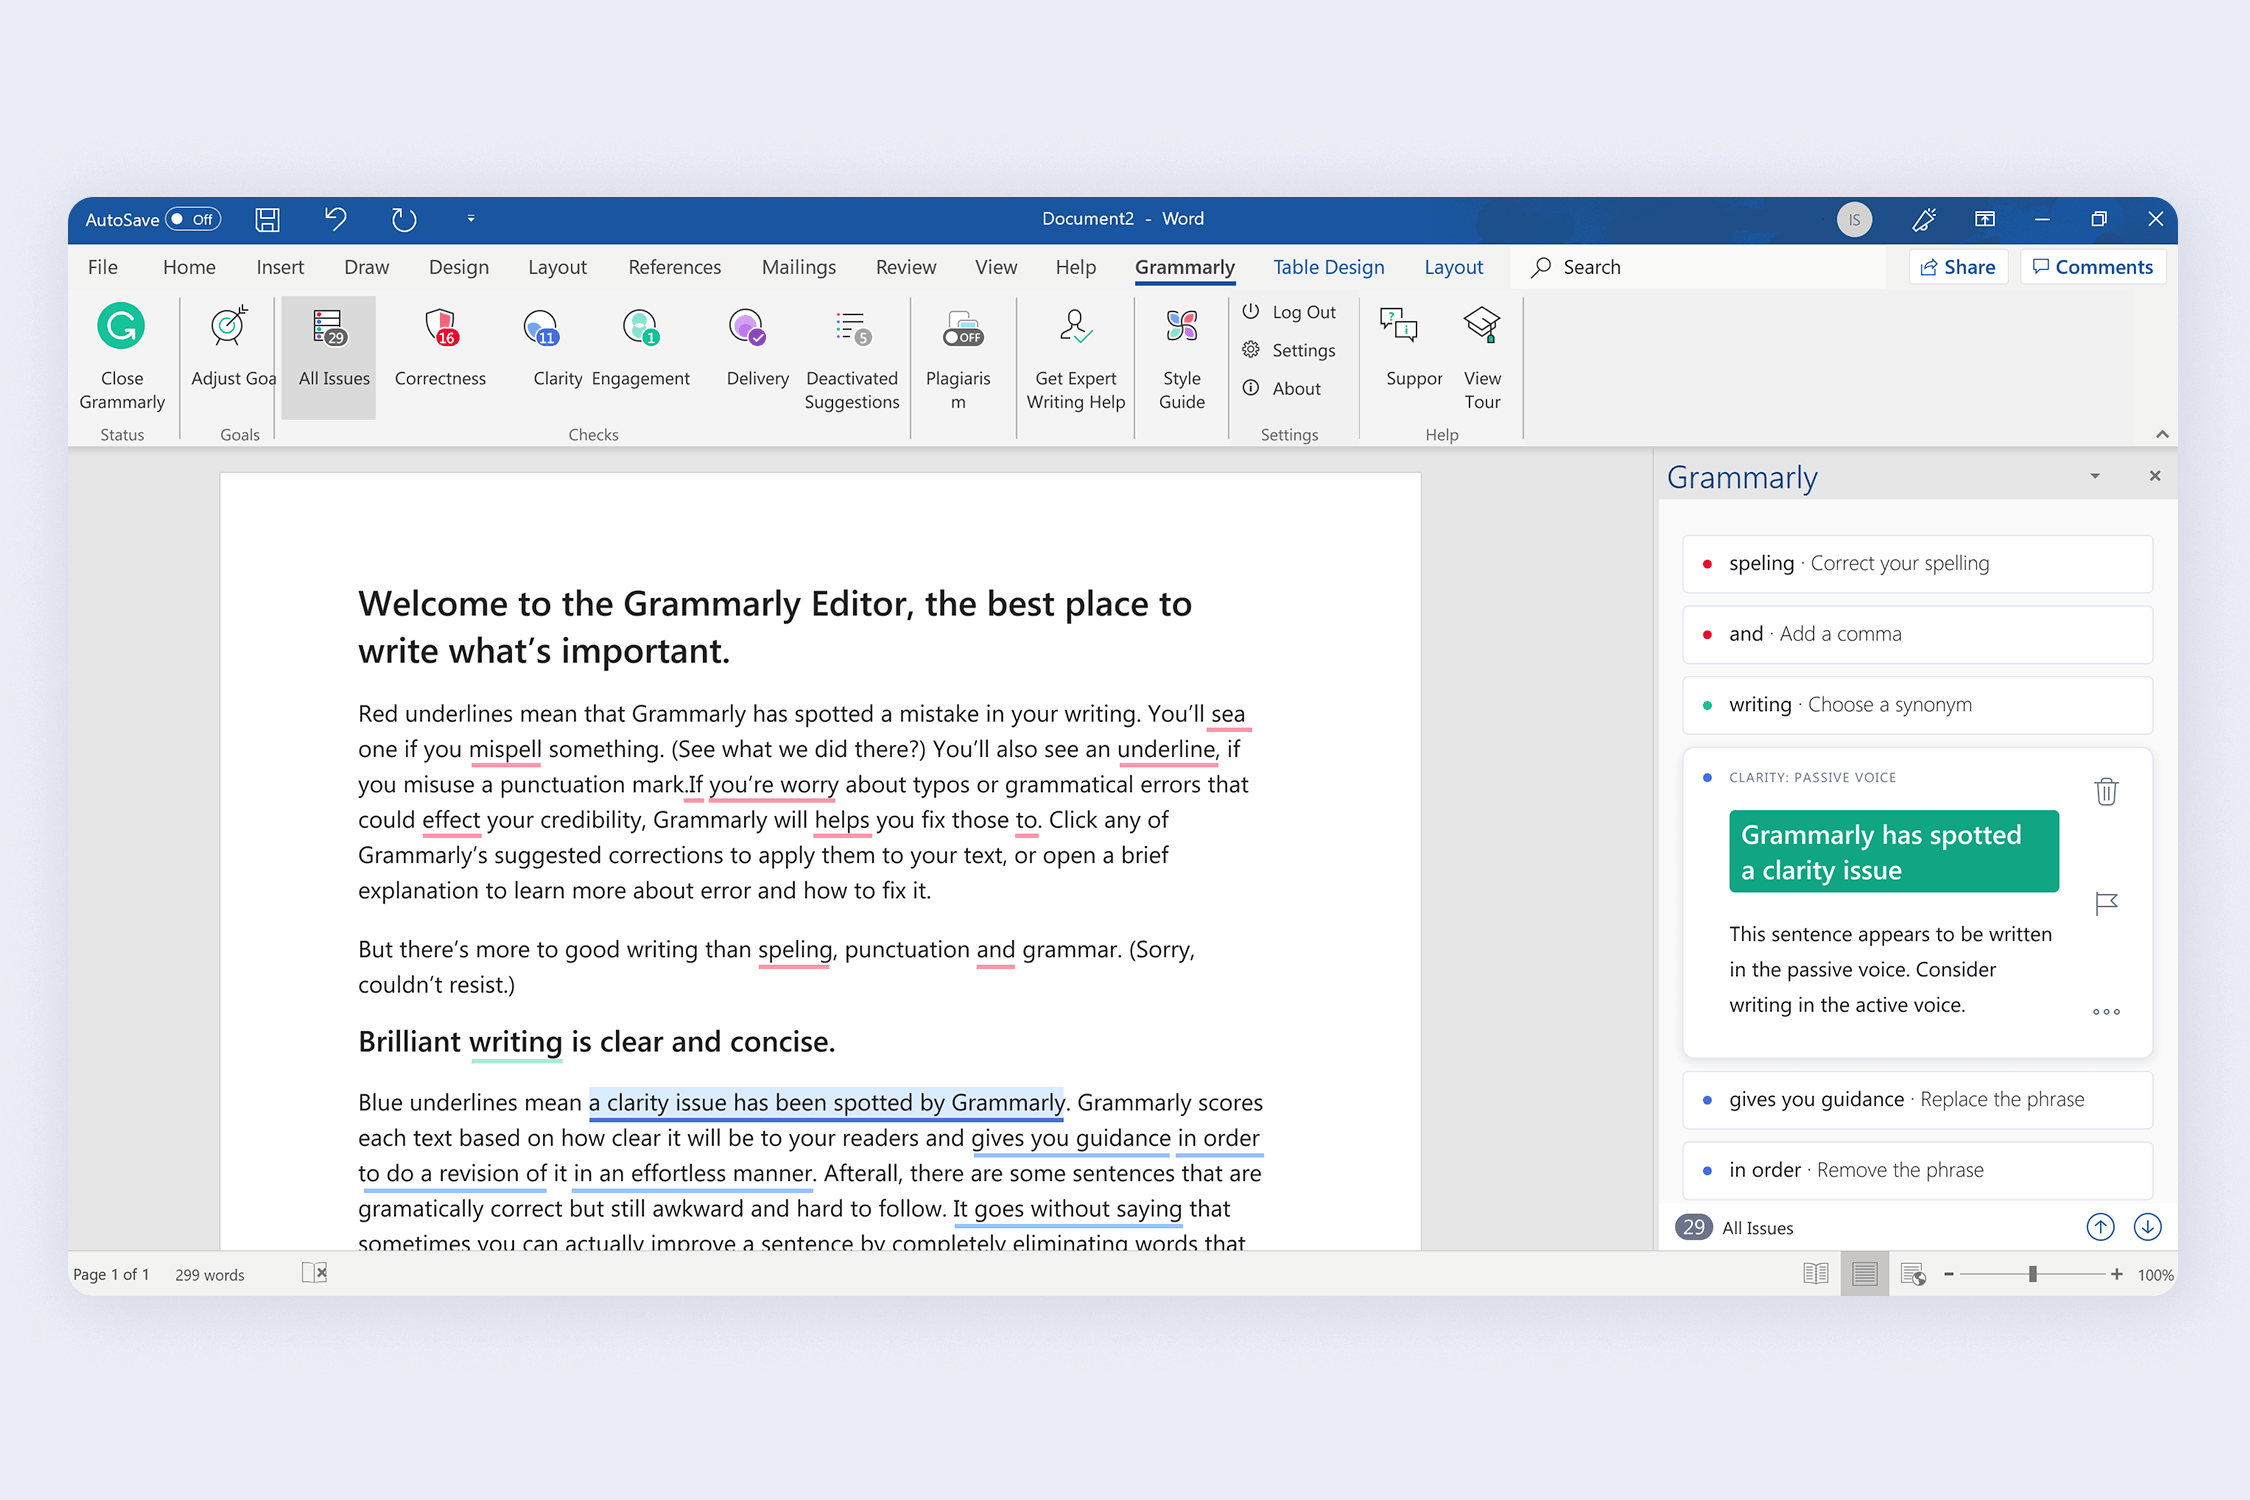
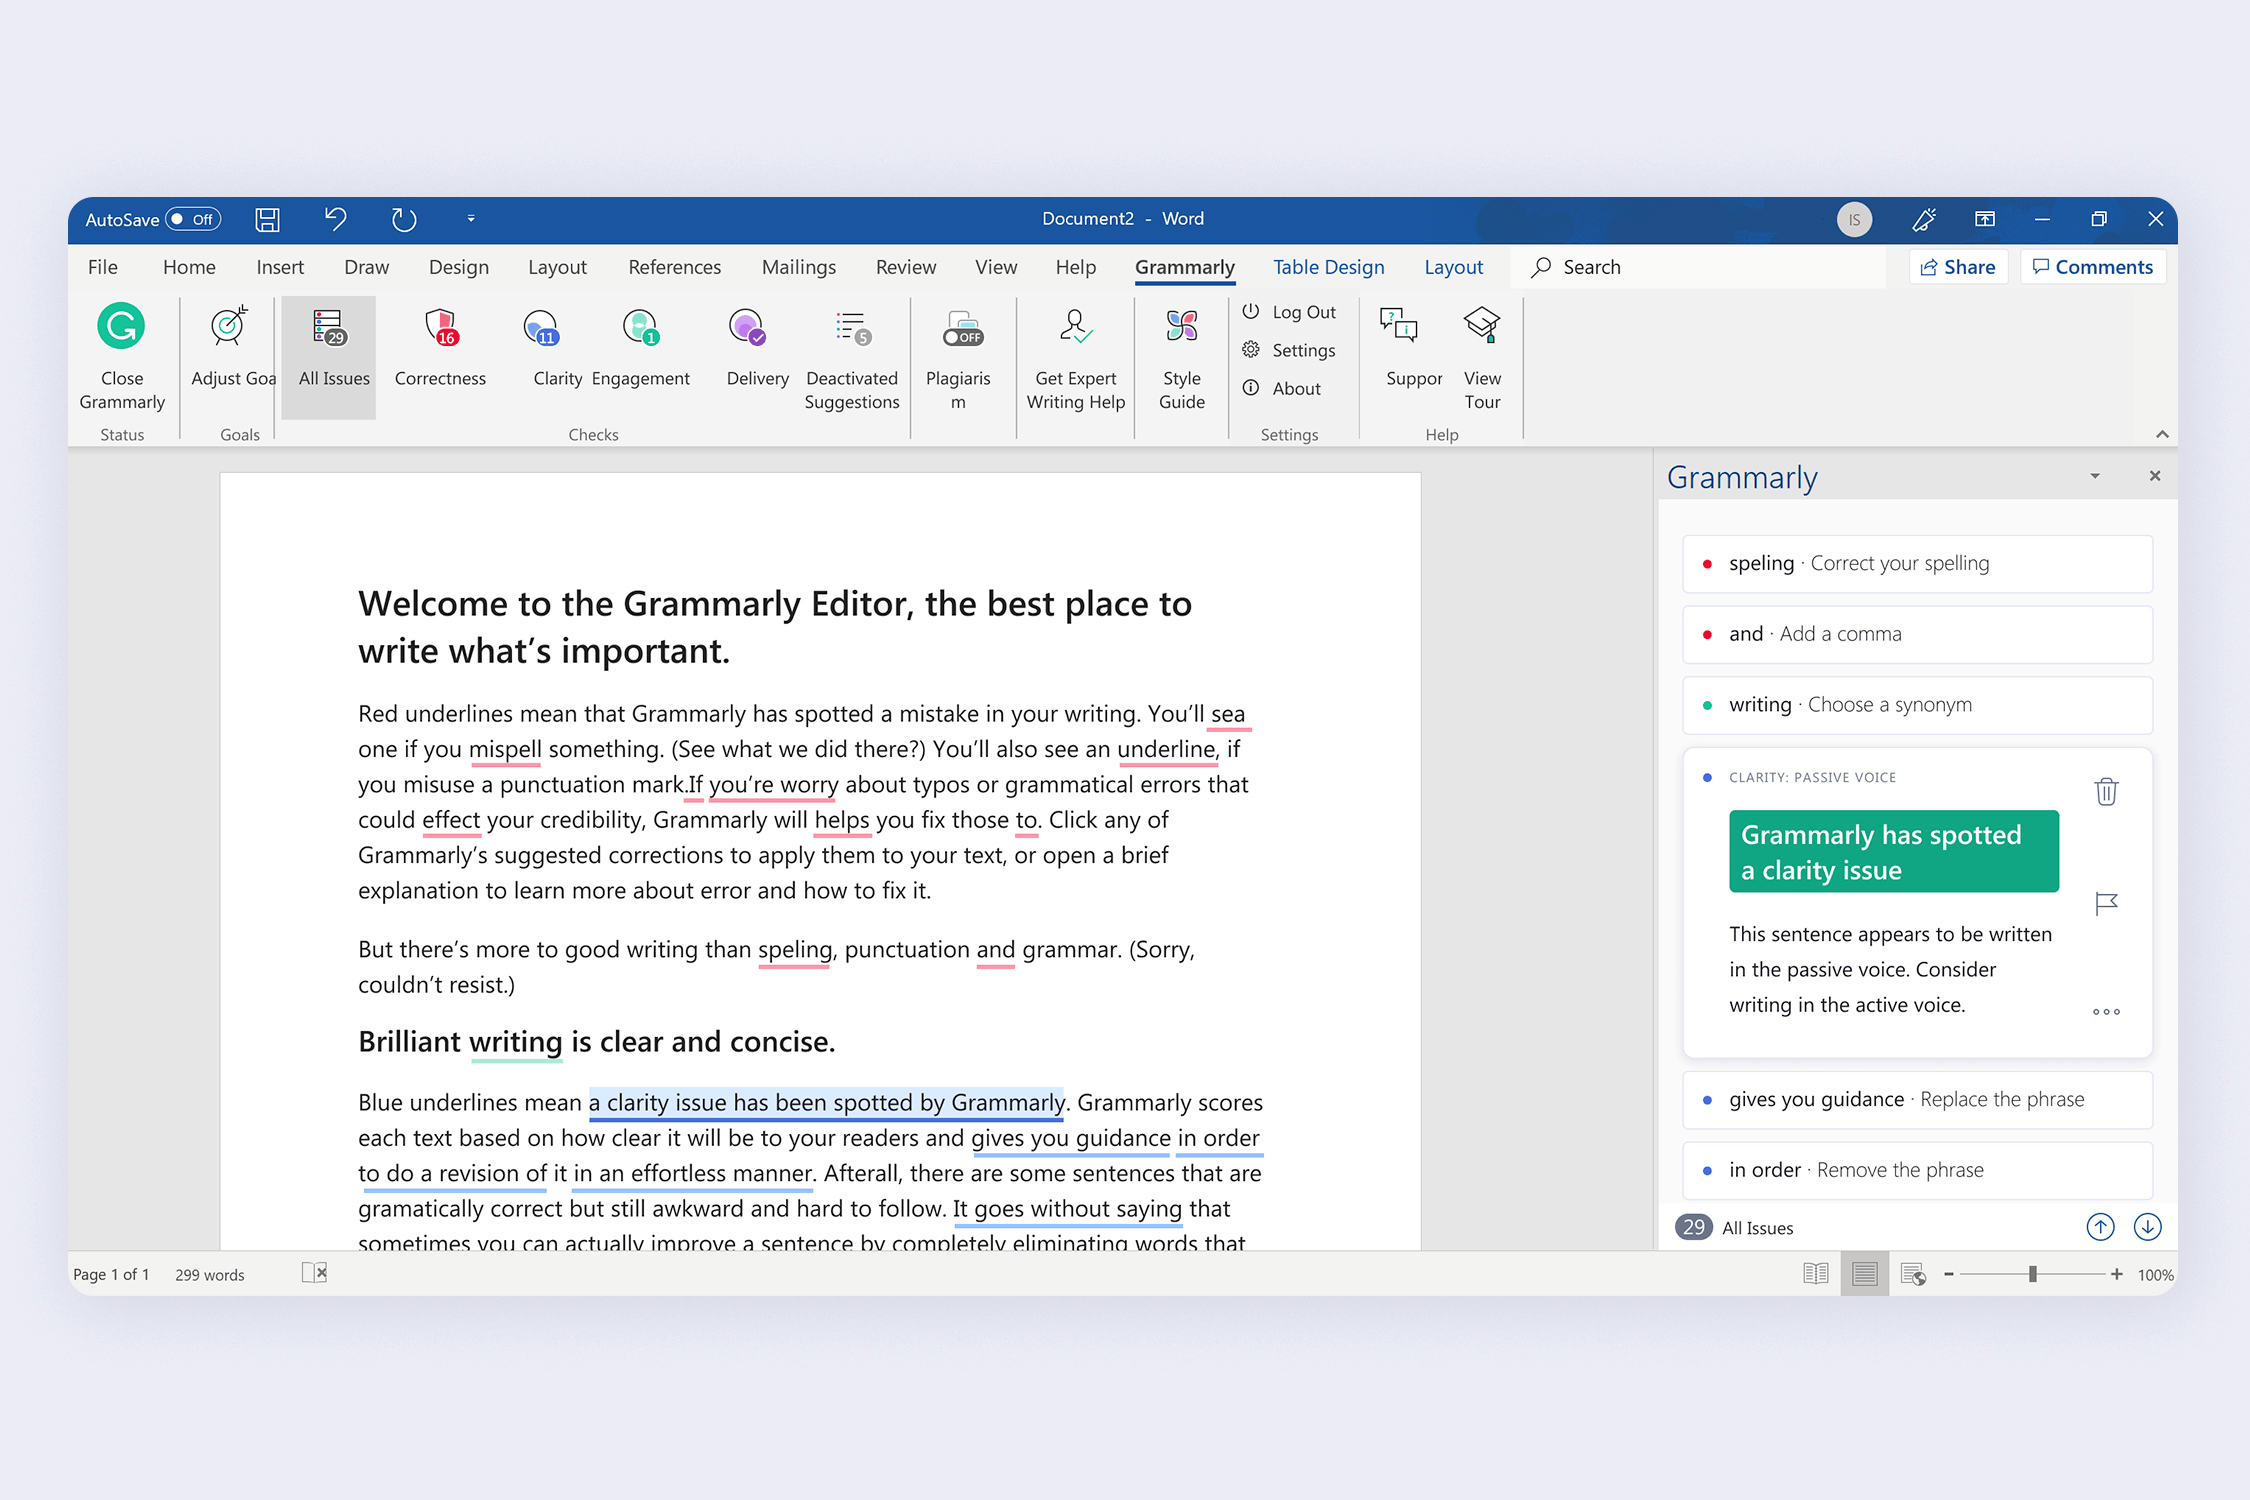
I’ve been using Grammarly for more than three years now. However, I recently got to know that we can use it in Word. Although Microsoft offers a default proofreader, it is not much effective with grammar and phrases check. Therefore, using Grammarly, along with Microsoft’s default proofreader, will be really helpful for you. Grammarly is not used directly with Microsoft Word but is used as a Microsoft Office Extention. It is similar to what we do with Grammarly’s Google Chrome extension. However, the process of enabling Grammarly for Word is more challenging than using a chrome extension. Well, you need not worry. I’ve created a step-by-step to install Grammarly on Word in the simplest possible way.
Download Grammarly for Word Latest Version
Before installing, you need to download the office extension file for Grammarly. Click on the download button below to start downloading. Download (Click Here)
Step by Step Guide to Install Grammarly for Word
Now that you’ve downloaded the file, follow the steps mentioned below to use Grammarly on Microsoft Word. Step-1. Double click on the setup file that you’ve downloaded and now wait for a new window to prompt on the screen. Step-2. On the new window, click on ‘Get Started’. Step-3. A list of Microsoft products installed on your system will appear. From here, select the products on which you want to use the extension. Step-4. Now, click on ‘Install’ to start the installation process. It will take a couple of minutes to get installed. Step-5. As soon as the installation process is completed, you will be asked to log in or sign up with a Grammarly account. If you already have an account, log in with appropriate credentials; otherwise, sign up for a new account. Please note that the extension won’t work if you skip this step. Step-6. Once everything looks good, proceed by opening a new or an existing Word document file on your computer. Step-7. Navigate to the Menu Bar and look for a new tab by the name ‘Grammarly’. Click on it. Step-8. This extended menu bar will help you to customize the use of Grammarly with ease. Once you are happy with everything, click on ‘Open Grammarly’. The extension will start working from now onwards on every document that you will open in Microsoft Word. Well, there’s a drawback to using Grammarly on your Word documents. Once installed, you will not use the undo command for anything done with the document. But, apart from that, the extension will help you a lot.
Download Grammarly For Windows PC
In case you want to install the Windows application for Grammarly, mentioned below is an easy process to do so: Step-1. Download the Grammarly application for Windows 10 from here. Step-2. Launch the application file and accept all the necessary terms and conditions. Step-3. Now click on ‘Next’ and then click on ‘Get Started’. Step-4. Log in with your Grammarly account to continue. If you don’t have one, sign up for a new account. Step-5. Click on the Next, and you will see your saved documents in Grammarly getting synced within a couple of seconds (if you already had an account). You may also like to check out these Grammarly Black Friday and Cyber Monday offers.
The bottom line
Grammarly is one of the best tools to spell check, grammar check, and look for plagiarism in your content. With the free version, you can check for spellings and grammar. The best part about this add-on is now Grammarly also works with MS Word on Mac OS devices. For deep digging of your content and look for plagiarism, you can upgrade the plan to premium or business, as per the requirements. How frequently do you use Grammarly? What’s your average score with the documents? Do let us know in the comment section below and keep visiting Cartel Press.


